
Introduction
In this guide, we’ll walk you through how to add and manage your Before call Custom Action. Whether you’re a new user or simply looking to refresh your setup, these steps will help you fine-tune your AI agent’s capabilities and improve customer interactions.
You feel like your Agent need to have context about the person who called you. You are using a crm or other document where you store data about past conversation or tickets raised. Now with this you can provide these data even before the call starts so that your agent is more personalized for that person.Step-by-Step Overview
1. Locate the Actions Tab
In the ServiceAgent platform, go to Agent Settings for the relevant AI agent. Within this area, find and select the Actions tab. In Actions before call. Select Custom Action in Add Action dropdown. This is where you’ll manage the custom actions.
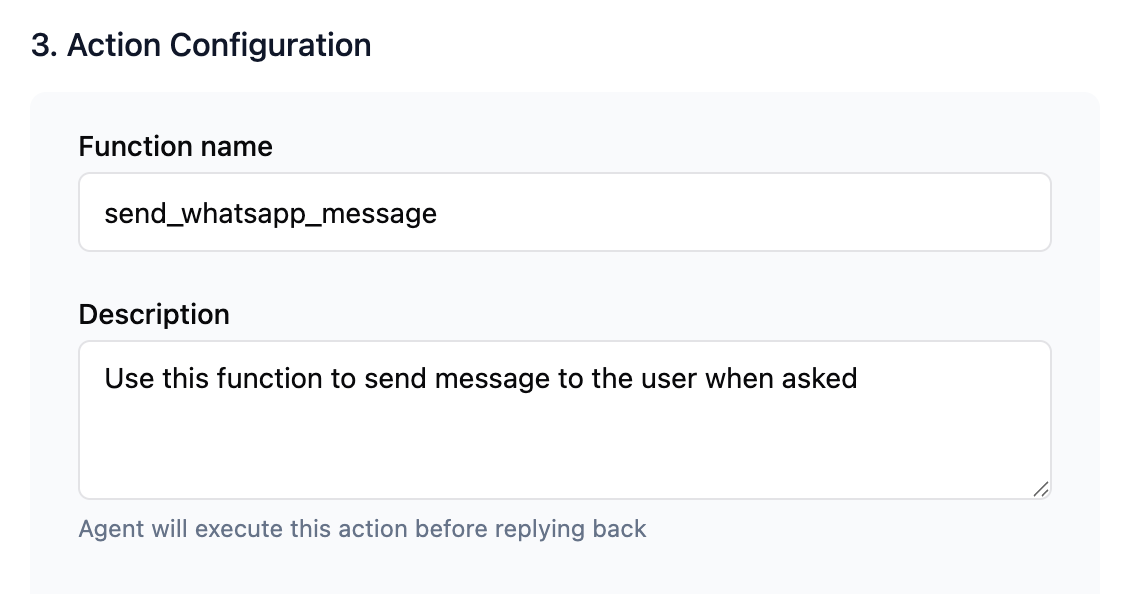
2. Action Configuration
In function name, provide a short and unique name for function(do not provide any space). In its description, provide the description of what that function does.
3. Api Configuration
In the configuration section. Provide the api details properly, provide url, method, headers, query params, and body configuration. You can also use Variables to make your api more dynamic. At before call action we have Caller Number of person available as variable, through this you can fetch data related to that customer.
4. Test
You can test your api by clicking on test api button. You can check if the api is setup correctly on our system and you are getting a successful response from the api as expected.
In response variable map the exact response you want to send to the agent. Map it with a Dynamic variable. map it programatically like you have dynamic variable, xyz and you can it to response of api like data.choices[0].message.content, If mapped correctly these data will be available as a dynamic variable context to the agent throughout call. Agent will use this data whenever necessary. You can also provide these in agent guideline, so that agent will use that data in a way or flow you have defined.
6. Save Your Action
After successfully testing api, save the api and click on Create button. And click on Save Agent button. Now the action is available to Agent.
Note:
1. Ensure to test the api before setting api. As when in call same will be used. Feel free to reach out to us on chat support in case of any issue.